Many people intermittently use Freecad and the other associated software tools. So when they need to get a 3D design printing they have to go back up the learning curve each time. I expect that like me they go through a phase (each time!) of re-learning what should already be known. But my/your brain has “filed” it away. Hence I thought I’d produce an ultra-simple example with Freecad to remind me of the basics. If like me you are forgetful or maybe just starting to build your own 3D prints then I hope this helps.
Freecad
What I design here is the simplest possible “real-world” design. A simple plate with two holes. It has a use as a joining plate so it at least has some merit. I’m going to make a plate 10 cms long and 2 cms wide and 3mm thick. There will be two through holes. Longitudinally each hole will be 1cms from the end and will be centered. The hole will have a radius of 2mm.
The first thing you need to do is create a two dimensional sketch of one of the faces. In this case the top face. This is the subject of this first post.
Start Freecad. You get this.
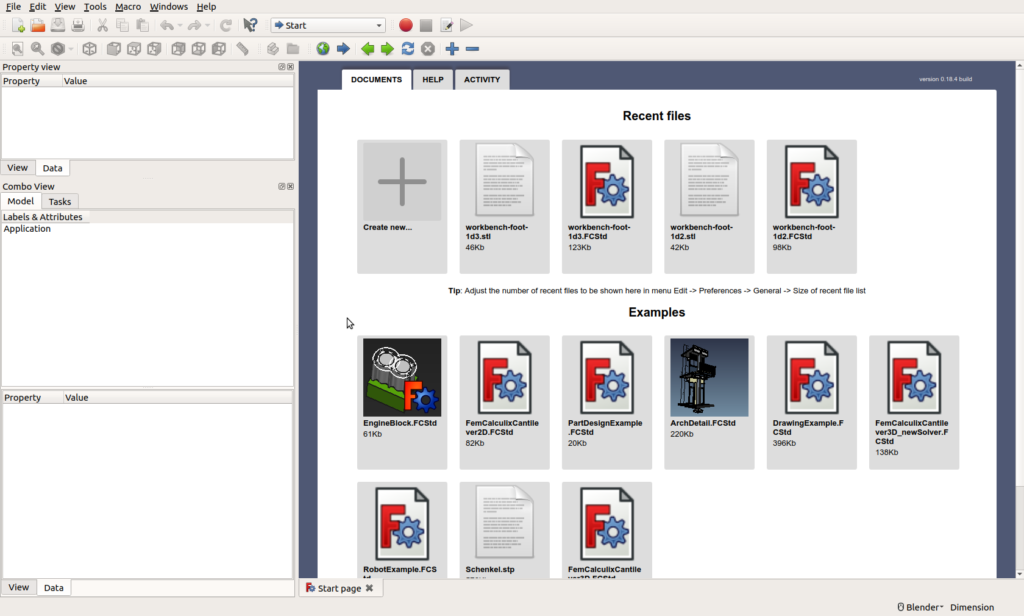
Select “Create New…”
You first need to check (and possibly change the units used) Go to edit→preferences. Then select the last tab marked “units”. Usually this is already set to mm/kg/sec. Select the units of your choice and also how many decimal places you want to use.
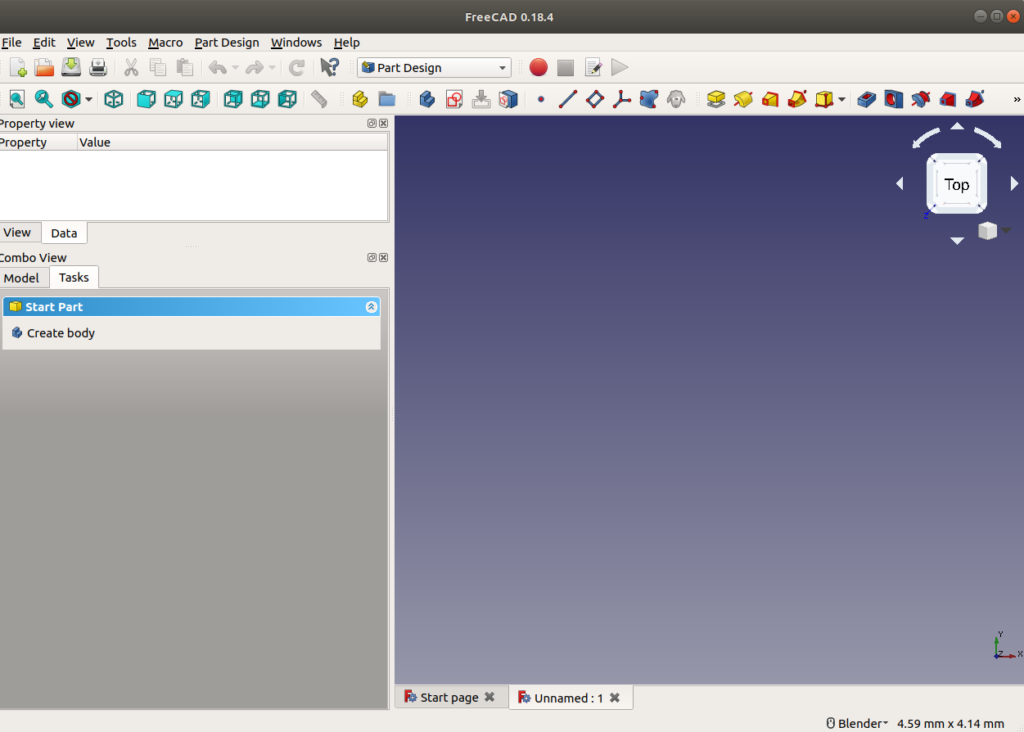
Now click the down triangle in the box (mid screen) that currently has “Start” in it. Select “Part Design” You get this.
Freecad Sketcher.
Now click on Create Body (left hand side under “Tasks”) Then select Create Sketch (same place).
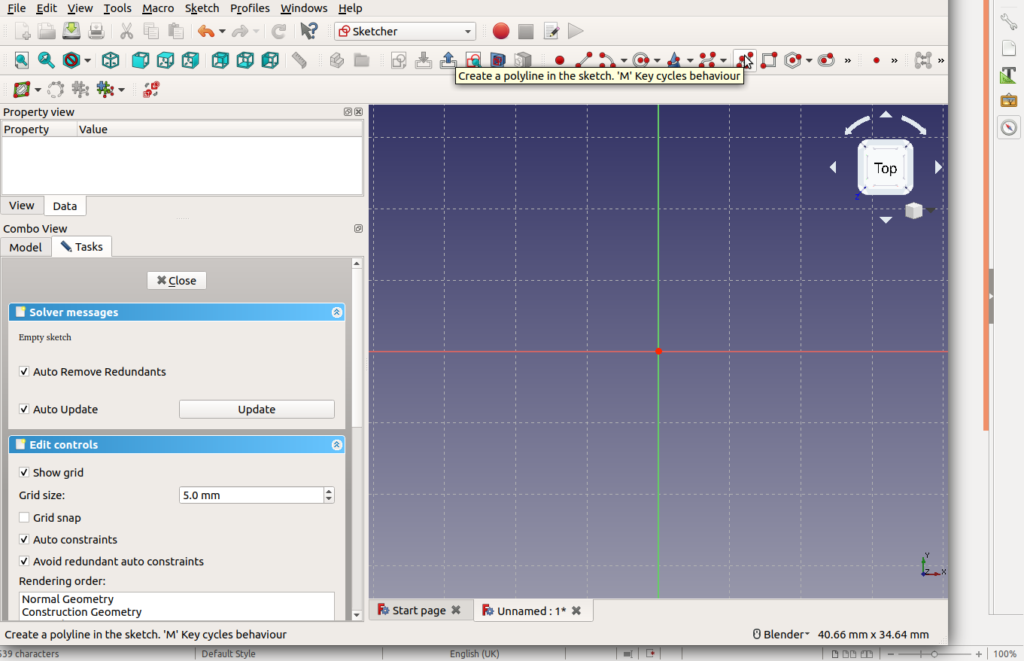
Select XY_Plane and OK. You end up with a screen like this.

Select the polyline tool (either from menu->polyline or from the shortcut in the bar above the sketch. See here:
Zoom out on the sketch ( use Control minus i.e. “ctrl -” ) Place the cursor somewhere (anywhere), click and draw a line out to about 10cms, click then up about 2 cms, back along about 10cms and then back onto the first point. So you get something like this (this is a deliberately bad exaggeration for demonstration purposes)
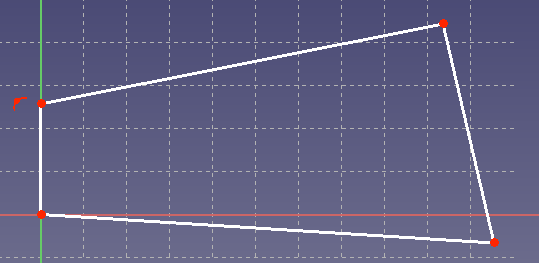
Notice the box (left hand side) stating there are 5 degrees of freedom. (you may get more or less)
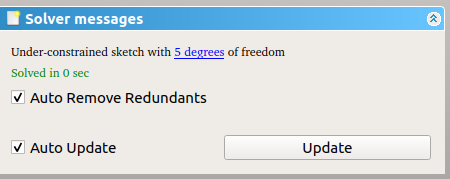
This indicates that freecad may have the sketch but it doesn’t know where is it or what lengths/angles there are. So we need to constrain it.
Back out to the previously select command (in this case polyline) by hitting the Escape key until you get to a normal mouse pointer. Then select two opposite lines that we want to force to be parallel.
Freecad Sketcher Constraints
Either from the sketch menu→sketcher-constraints or the short cut in the top bar usually right hand side) select “constrain parallel”. This is the constraints menu:
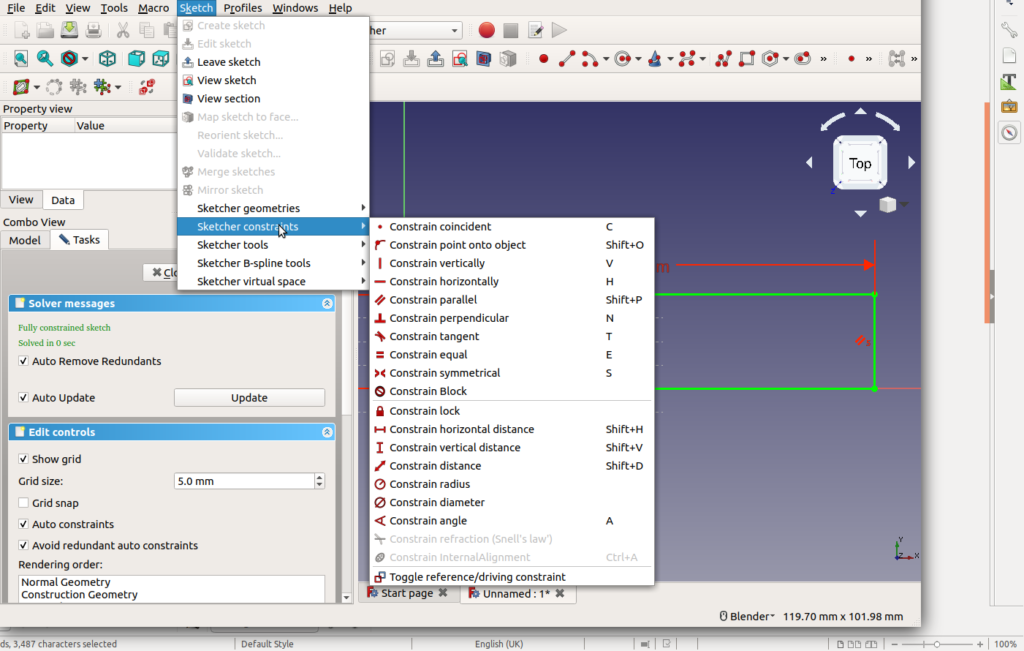
The two lines will be forced parallel. Repeat for the other two lines. You’ll have a rhomboid.
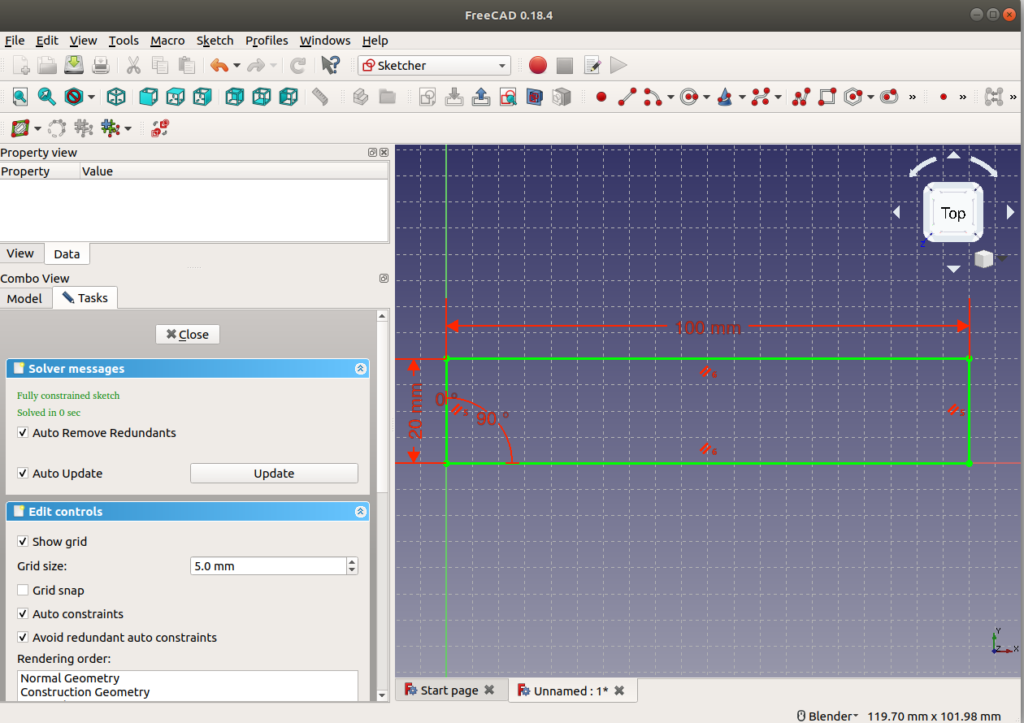
Select two adjacent lines and again using the constraint menu or shortcut set the angle constraint between them to 90 degrees Now you have a square/oblong. Click on line and then the center of the chart then select constrain coincident. Notice all the time the degrees of freedom count drops. Finally you will need to set the lengths of the two side by using constraints (constrain vertical distance and constrain horizontal distance) When you have resolved everything that needs resolving the sketch goes green and the solver box indicates “Fully constrained sketch”.
Like this. Here’s our Freecad simple example. So far anyway!
Freecad Fully Resolved Sketch.
Close the sketch (close button above the solver box left hand side)
Now you have a valid sketch. But this has no thickness so the next thing is to thicken it up. See next post HERE.