On an Ender 3, changing the nozzle is easy. But it is also all too easy to foul up the filament feed by mis-aligning the nozzle to the Bowden PTFE tube channeling the filament into the nozzle. Here’s an earlier post on exactly this problem and what happens.
Why change the Ender 3 Nozzle?
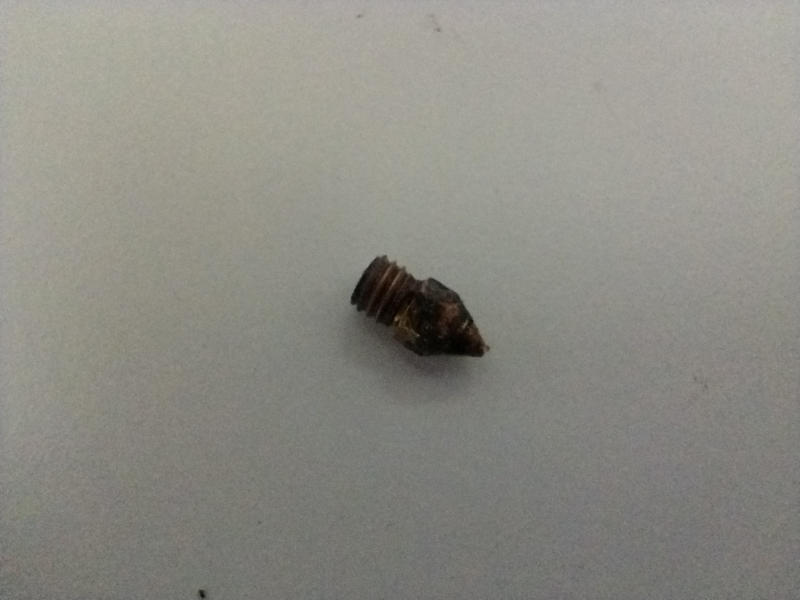
If a nozzle in an Ender 3 that is only ever is used with (say) PLA and is never accidentally grounded on the build plate then it may last for years. But one grounding may (but not always) distort the exit hole and you may end up with a rough print.
At the end of the day nozzles are cheap. (here’s a good example on Amazon) You can buy better ones (like this on Amazon) but personally I stick with the cheap and expendable. If you have a suspicion that your print quality is suffering due to some nozzle abnormality then the best, cheapest (in both time and reduced print failures) and most productive fix is to change the nozzle.
If you happen to be lucky enough to be aged 18-24 then you can get a really, really good deal on Amazon Prime right now. In fact it costs $0.00 (!) for the first 6 months. After that it’s half normal price. There’s also 5% cash back for a limited time. There’s much more as well. So why not make a wrinkly jealous – at least have a look! Here’s a Link to the Amazon Young Adult Prime page
The other reason people may wish to change the nozzle is when you change filament type from (say) PLA to ABS or TPU. Although you can flush the nozzle out in situ (I usually do) it may be easier to just change the nozzle for a new one. If you keep the swapped out nozzle (and label it!) you can of course re-fit when you want to go back to using the original filament type.
Some folk recommend that you change the nozzle every 3 months anyway. That’s irrespective of whether the print quality is degrading. But personally I only ever change it (sometimes) when swapping filament type. Or of course, when it get damaged by wear and tear.
Ender 3: Changing the Nozzle: Possible Problems.
Swapping the nozzle on an Ender 3 is straight forward and short of doing something catastrophic like cross threading it, risk free. But there is one gotcha (and… it got me! See this post) involving the mating of the nozzle to the end of the Bowden (white PTFE) feeding the filament into the print head. But more in a minute. Lets remove the existing nozzle first.
Removing the Ender 3 Nozzle.
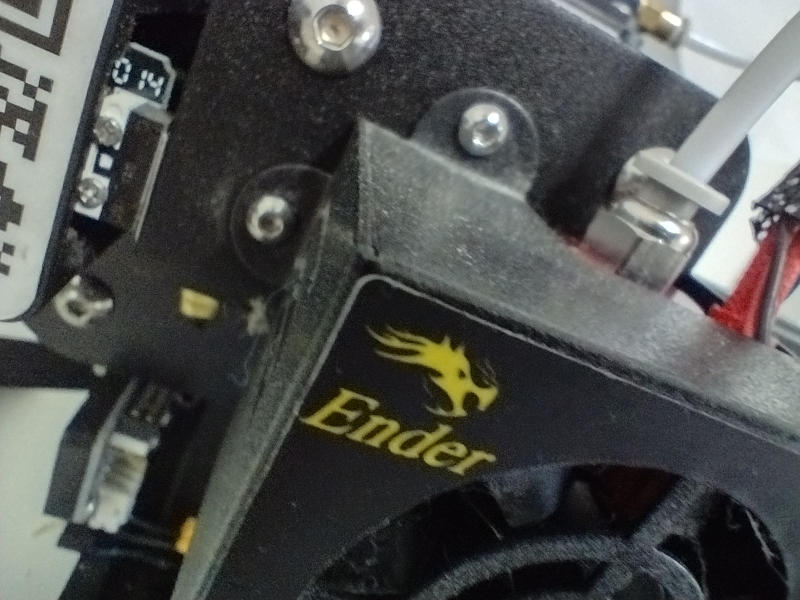
When you received you shiny new Creality Ender 3 you should have found a number of cheap (but effective) tools bundled in with it. Included in this kit are two small spanners. One of these is a fit for the nozzle. There are also 3 hexagonal Allen keys one of which you will need to undo the two silver screws holding the fan unit on the side of the print head. Find your tools!
Remove the Filament
First of all remove the filament. The easiest way to do this is to turn on the Ender 3, select “control→temperaure→nozzle” and set it to your filament melting temperature (example 205 deg C for PLA) then go back to the info screen and wait until it is up to temperature. Pull the filament right out of the Bowden (PTFE) tube from the feed as it goes into the stepper motor. Then go back to control→temperature→nozzle and set it back to zero. Make sure you have moved the print head up the Z axis (prepare→move axis→z) so you can actually get at it easily with the bed getting in the way. Turn off the Ender 3.
Fitting the new Ender 3 Nozzle

With the correct sized Allen key undo the two screws holding the fan unit onto the side of the print head. Remove the fan unit. There is no need to disconnect anything electrical. Just (obviously) don’t have the Ender 3 turned on!
Gently pull off the rubber shield.

Notice when you take off the rubber shield how the nozzle meets up with it with just the tip poking though. It is rubber and it will tear if you are not careful. Be gentle.Do not forget to refit the rubber shield at the end!

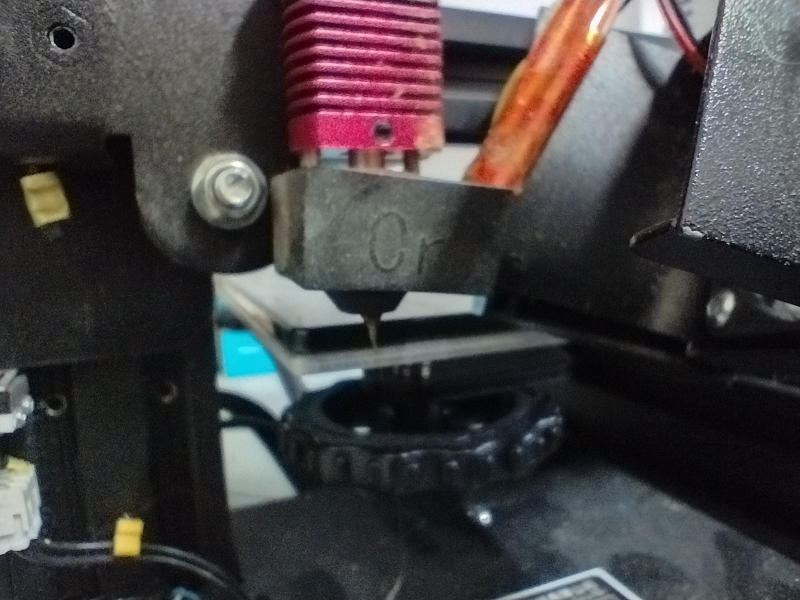
Now we are ready to start changing the nozzle on our Ender 3. Using the correct size spanner undo the nozzle. DON’T forget you are working upside down! So when you place the spanner on the nozzle with the spanner handle to the left you need to push it forward NOT pull it back. Doing that will simply tighten it further. Just be gentle with it. It’ll come out fine.
Ensure the Bowden tube path is clear
Watch out! This is very, very, very important!

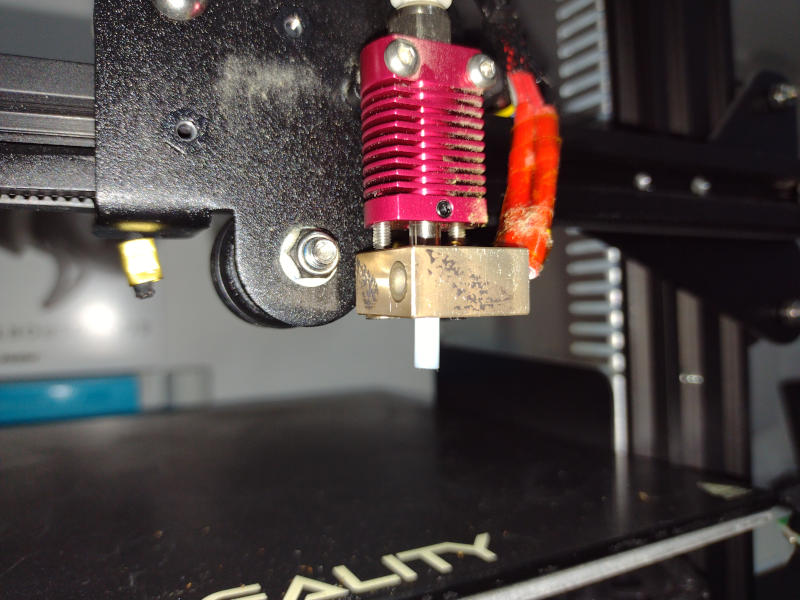
If you just fit another print nozzle you may well not meet the end of the Bowden (PTFE) tube flush. So first of all push the Bowden tube right down through the print head so you can see it coming out of the body of the print head where the nozzle will go. If it won’t go then you’ve probably got some debris in the pathway (old glob of filament or whatever). Gently but firmly keep pushing. It will come though. Then check that the end of the Bowden tube is OK. You can of course completely remove the Bowden tube to check it but it is still very important that you clear out any debris in the print head that might prevent the Bowden tube mating up cleanly to the end of the new nozzle.
At the end of the day the Bowden tube MUST fit flush and true to the nozzle end. Otherwise there will be grief and suffering.
Hold down the collar on the Bowden tube and pull it back up so you can screw in the nozzle. Screw in the nozzle.Be aware that some/most of the thread will still be showing. And do not over tighten it. Be aware it does not screw in that far when the print head is cold. On mine I reckon it’s about 1 and half turns in total. To get the nozzle properly into the heating element, you need to turn it on and re-heat the head to working temperature (say) 200 degC). Then you will find the nozzle will easily screw into the head. Just watch you don’t burn your fingers! Use a spanner! When its in then back it off half a turn.
Push the Bowden tube back down in again. Be SURE it has gone down to the nozzle. I.e as far as possible. Lock the Bowden tube in place with the collar at the top of the print head. Then finally go back to the nozzle and tighten it in that last half turn you backed off earlier.
Refit the rubber boot then refit the fan, and you are ready to reload the filament!
If you don’t get that Bowden tube to mate cleanly with the end of the nozzle you will have a void in between them. The hot filament will deform (corkscrew) into it and block the nozzle. But, only after a while. So you start off printing nicely then it all goes horribly wrong as the filament blocks. So make absolutely sure the Bowden tube butts up to the end of nozzle.
There is a great video on YouTube (Here) that goes through more-or-less the same process as this. If you are still unclear I’d recommend you watch it. (incidentally, I don’t know the guy. Neither am I an affiliate or whatever of his – it’s just simply great information).