New Information a few years down the line…. If you buy the latest Ender 3 – that’s a creality ender-3 v3 se 3d printer it comes with automatic bed levelling!! If you’ve got an older beast (like mine) read on!
Here’s how I go about leveling the bed on my Ender 3. I do it by a mixture of eye, feel and repetition. I expect most folk use a similar process but here it is anyway. There are some great gizmo’s you can use instead that take most of the grief and suffering out of it but I’ll come to those later. I still use the manual process.
But if you want to just go straight to the gizmo’s here they are on Amazon. For 8 bit machines (and I assume 32 bit as well) there’s this BL Touch on Amazon. If you have a 32 bit board then you can use the more sophisticated CR Touch here on Amazon. If you can’t figure out if your Ender 3 is 8 bit or 32 bit then maybe this This Post or This Post will help. (there is another one as well that deals specifically with the CR Touch and the 32 bit processor issue in This Post).
Levelling the Bed: This is What I do.
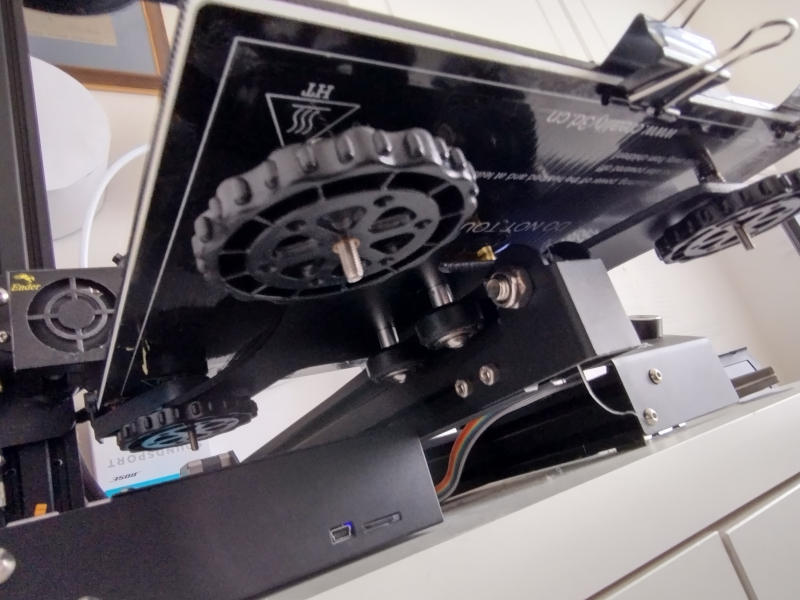
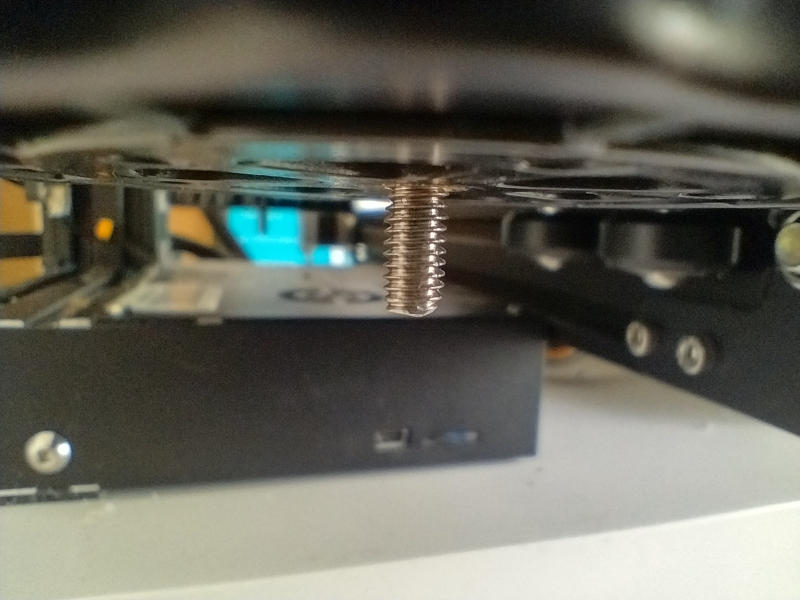
When leveling the bed on an Ender 3 you use four wheels that tighten down spring loaded threads that control the height of the bed. On in each corner. You need to adjust the bed not only to be level it but so that the clearance from the home position of the nozzle to the bed is vertically about 1/2 the diameter of the nozzle outlet.
On a typical set-up for an Ender 3 the nozzle diameter is 0.4mm so you are looking for a clearance between the bed surface and the end of the nozzle of about 0.2mm. Usually for a nozzle diameter of 0.4mm the layer height of each layer of the print is about 3/4 the nozzle diameter or, about 0.3mm.
The usual way to determine typical layer height is to divide the nozzle diameter by 1.25 which gives us about 0.32mm for the ideal layer height for a 0.4mm nozzle.
So my starting height is perhaps slightly under the standard layer height. The result (imho) is that the first layer extrusion gets bedded firmly down onto the bed and you are less lightly to get the print detaching from the bed during the print.
Ender 3 Leveling the Bed from Scratch.
First of all I remove the bed (either resin or glass) and then home the print head. The print head locates off the build plate (see this post) and does this by first raising the print head about a centimeter above the build plate to ensure it clears any bed material. For obvious reasons make sure there is nothing on the build plate that will get in the way of the print head.
The first thing I do after homing the head is re-mount the bed and then get the bed down/up to a sensible height. An example of when you need to do some serious movement this is if you change the bed to/from a glass bed from a resin bed. A resin bed is much thinner than a glass bed so you’ll need to wind the thing up/down as appropriate. But if its just re-leveling the same bed then it won’t be far off.
Secure the bed. Whether you plan to use tape, book spines (see this post) or spring clips, at this point, I’d just use spring clips and then replace them later on if you want to.
Disable the steppers. (on the control panel go to “Prepare” then click on “Disable Steppers”). This allows you to freely move the bed under the nozzle. Obviously wind the wheels so that the nozzle is clear of it. Make sure that the nozzle then can move all over the bed without touching it at any point.
Now we need to individually adjust each wheel so to bring the nozzle to within 0.2mm of the bed.
To get the height right the easiest way is to use a strip of standard 80gsm photocopier paper. Cut a strip about 2.5cms/1 inch wide. Standard 80gsm photocopier paper is about 0.1mm thick. So wind the bed so that the paper is not snagged but is <just> beginning to snag. Just so much that you can still slide the paper under the nozzle but it feels like it is beginning to catch on both the bed and print head.
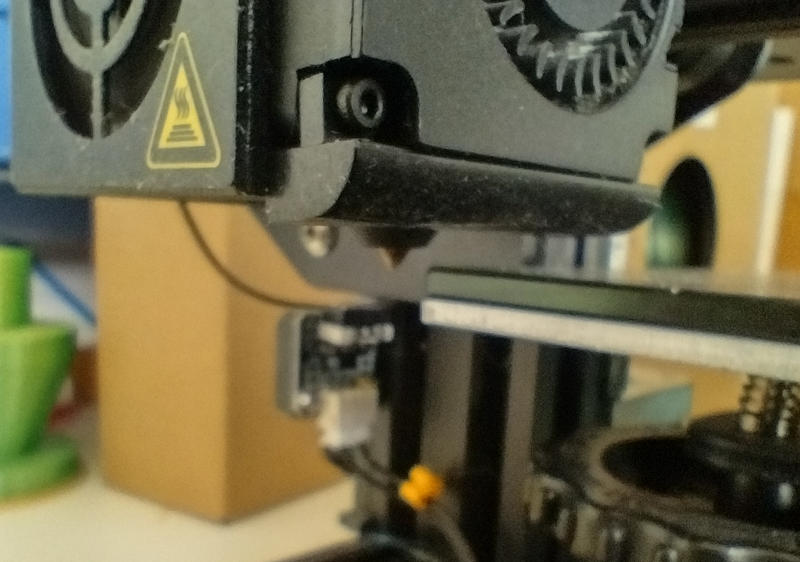
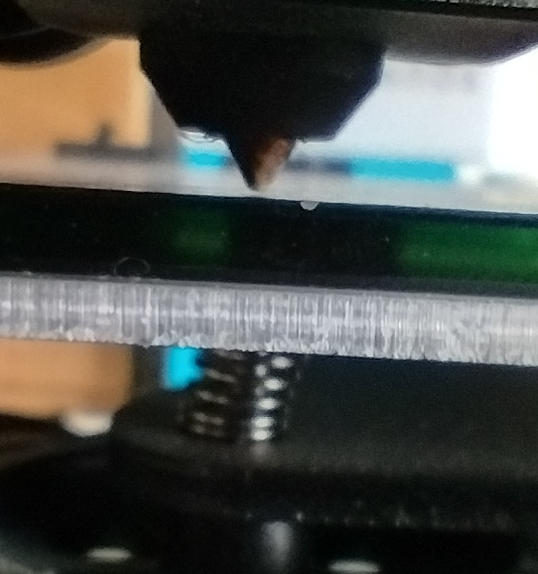
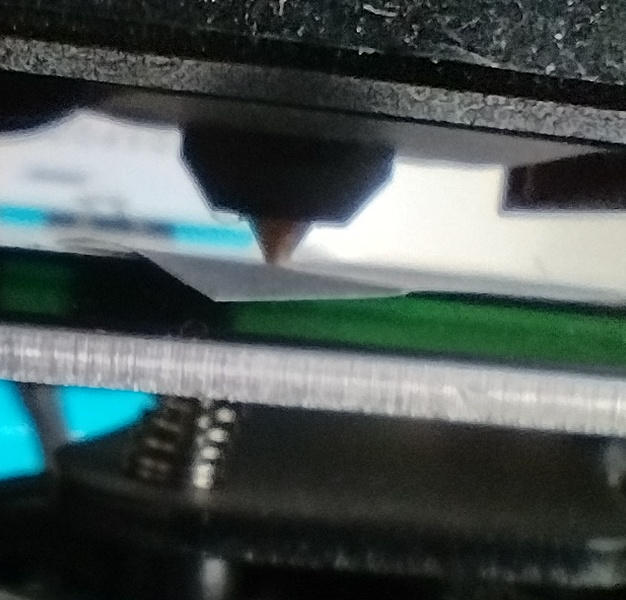
Now with the paper still under the nozzle and held in place so it moves with the print head, I move the print head by hand across the bed and then move the bed back and fore while checking every few centimeters that the paper is not too loose or snagged completely. Adjust the wheels in turn until you get the same feeling from the paper all over the bed. Go over it twice just to check.
You will need to level the bed after every print although hopefully you should find (assuming the print has come off the bed without too much difficulty) the bed height stays pretty much in the right place after the initial set-up. But don’t take it as a given! Check it before you print again. Maybe though if you haven’t changed the bed type then you can just skip removing it before auto-homing.
Ender 3 Leveling the Bed: Self Leveling kits
If all that seems a bit of a faff and you have a few dollars/Pounds/Euros to spare then you can buy a self leveling kit.
Basically there are two.
The first self leveling kit was the BL Touch. This works fine with 8 bit boards and (I assume) 32 bit as well. You can find an example of a BL Kit on Amazon here.
If you have a 32 bit motherboards in your Ender 3 then you can use a CR Touch. Although CR Touch is more sophisticated than the BL Touch, it will NOT work with an 8 bit motherboard. See this post. You can check-out a CR Touch Kit from a reputable seller on Amazon on this link.
Currently I use neither. That is not because I don’t see their value. They both have amazing write ups. But as things stand I can live with the nausea of manual bed leveling. For the time being at least. But maybe in the future I’ll buckle down spend a few dollars/pounds. Then I ca stop wasting my time leveling the bed by eye!