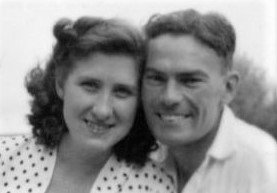
I had a small image that an artist asked me to blow up to A4 size so they could use it as an aid when painting a portrait. I was using Gimp and print centering was vital to get it all in.

The problem I had was that after I blew the image up it always wanted to print in the wrong place and part of the image ended up being cropped. I had doubled the pixel count and reduced pixel/inch to 50 from 75. Of course both of these things contributed to making the image low resolution but that was not an issue. They should have given me an image roughly the right size. Blurred or not.
But when I came to print it the damn thing always came out in the wrong place. Aarghhh!
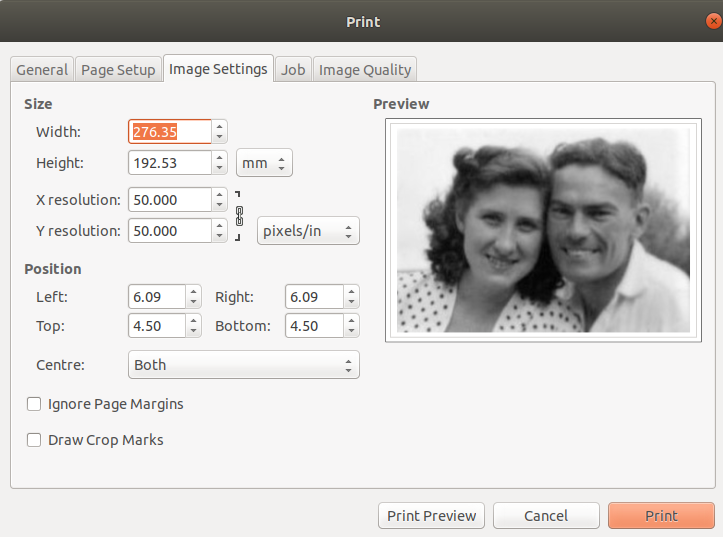
The trivially simple trick to fix this was to use the image-settings tab in file→print.
I found that first of all manipulating the pixel/inch value here was better than in the main application as it allowed you to see what was happening to the image.
I turned OFF “Ignore margins”. While “Draw crop marks” worked just fine I turned them OFF as well. Then I set centre to “Both” The best thing was I could see what was going on. The preview screen on the right of the dialog box is wonderful. The image in it changes size/position as you manipulate the resolution and position.
To achieve Gimp print centering this is what I used in the end. The crucial two settings are “Centre” (set to “Both” and “Ignore Page Margins” unticked. I did not touch the Position parameters, I let the “Centre” control manage that.

Needless to say I then hit the preview button to check it all looked good. Then I printed it and ended up with a rather blurry but large and centred A4 size image.
Other than inherent stupidity I don’t know why that took me so long to figure out. But from Googling it appears lots of people have issues Gimp print centering so maybe I’m not alone.