This is the second part of producing a simple 3D printed object using Freecad, Slic3r, Pronterface and an Ender 3 3D Printer. Here we turn our plate sketch into a 3D object and add the holes. The first part covering using Freecad Sketcher is HERE.
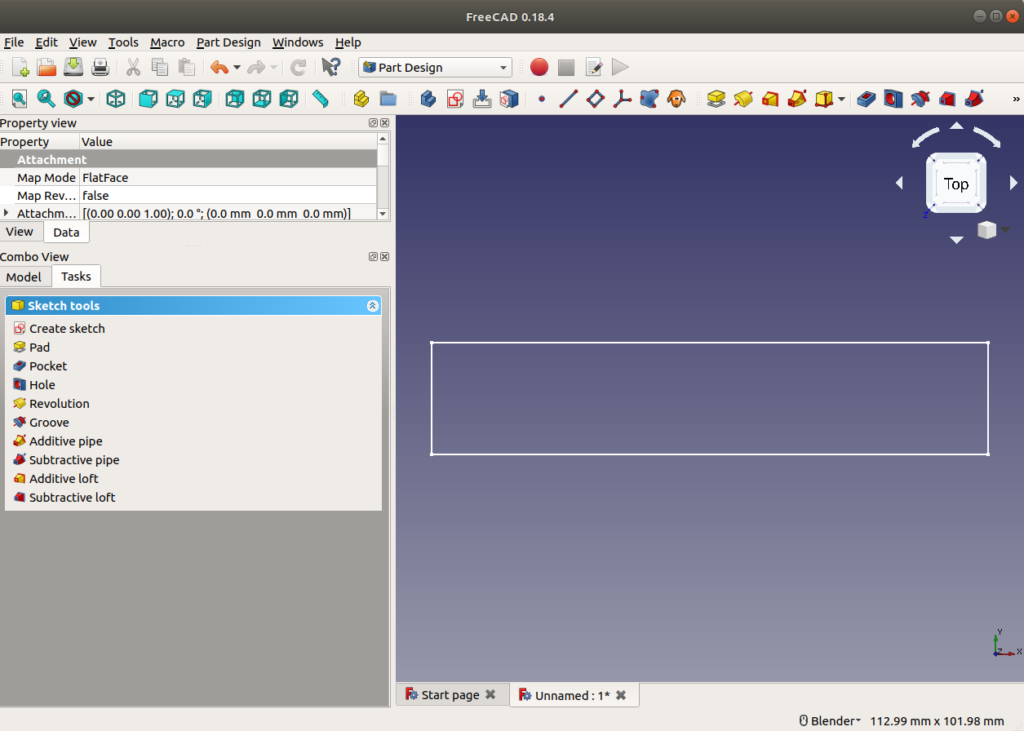
When you closed out sketcher (end of last post) you will have ended up back in “Part Design” with your sketch displayed on the right. like this.

You can use the far left magnifying glass to center it and fit it on the screen. Alternatively use “ctrl –“ or “ctrl+” to shrink/enlarge it and the left/right up/down arrows on your keyboard as you want.
Now we need to thicken it up. Under the tasks tab on the left hand side you will see a set of sketch tools. Select “Pad” and set the length to 3mm and click OK. Now you have a 3D object. You can swing it round by clicking in the object display panel then using you center mouse button you can move it about.
Sketching the Holes
Now we need to add the holes. Click on the top face so it changes colour. Then select sketch. You’ll be drawing another sketch. This time with the new 3D object as the template.

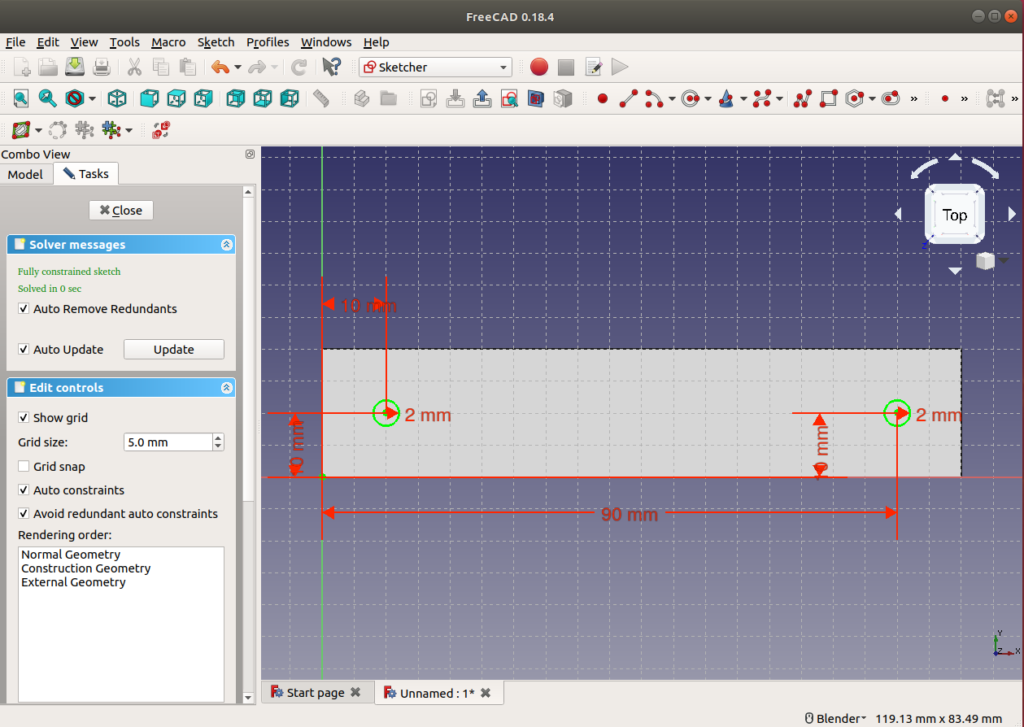
Using either the sketcher menu→sketcher geometries or the shortcut in the tool bar create two circles of 3mm radius roughly one cms from each end and in the middle. Then constrain each one like you did in the first sketch. When all degrees of freedom are resolved click close.
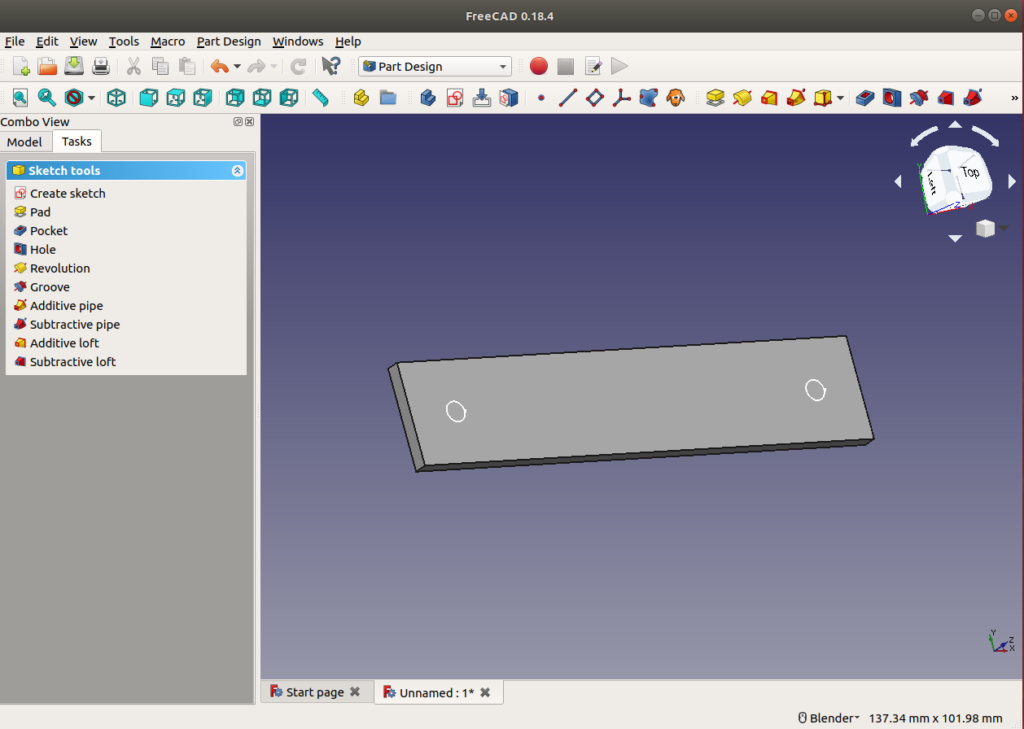
Now in Part Design you should see the sketch holes on the plate like this:

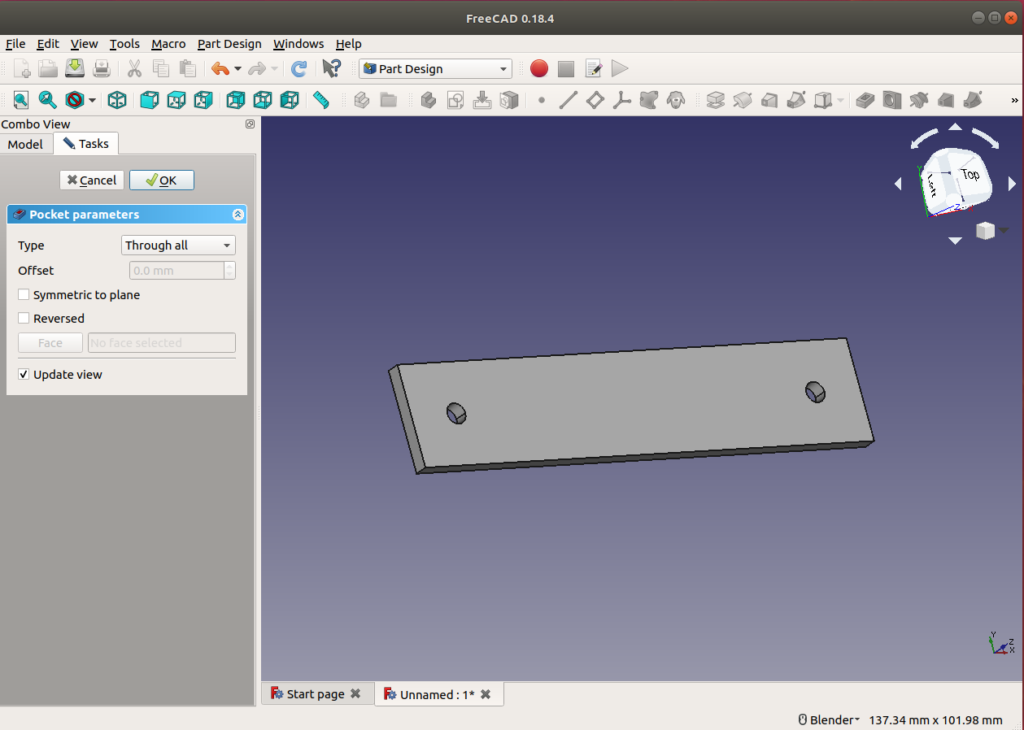
Select pocket and then “though all” and you’ll see the final plate with two holes in all its glory.
Click OK and save it!

Next we need to export it as an STL file and process in Slic3r ready for 3D printing. See Next Post.