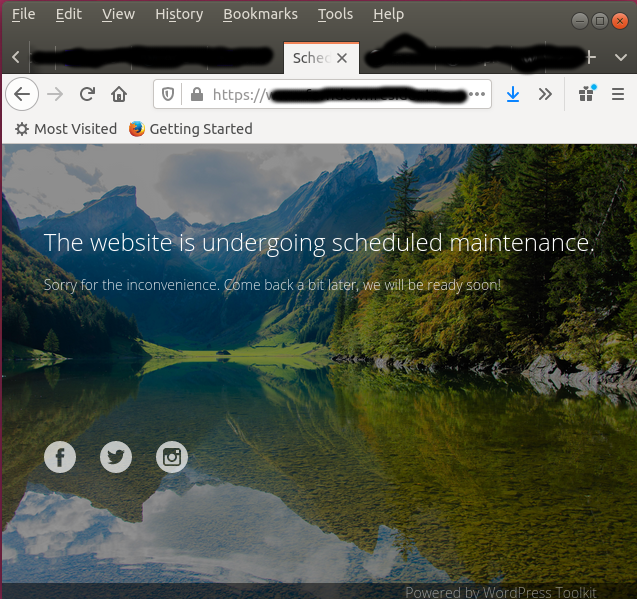
WordPress is a complex beast and occasionally an update (automatic or otherwise) will fail to take the site out of maintenance mode after it completes. Most people never actually see their site in maintenance mode. It’ll look something like this below though you may not have the fancy image – just a battleship grey background.

What happens when your site starts an update is that a small file called .maintenance containing one line of php code gets written in the root directory of your site. (notice the leading dot in the file name) This is what it contains.
<?php $upgrading = time();Until that .maintenance file (or I presume the code within it) is removed or renamed then your site will sit in maintenance mode forever.
You can fix it my one of two routes.
1. Use FTP to remove Maintenance Mode
If you use FTP (aka Filezilla et al) do a ftp login to your site and either remove or rename the file called .maintenance. It is in the root directory (i.e. the top). It is usually snuggled in at the end of the file list like this

Right click on the file and either delete it or rename it like this:

You can call it whatever you like. It’s probably best to get rid of it eventually.
After the file called .maintenance is renamed or deleted then the website should work again properly. Double click the file in Filezilla to rename it. Or right click it then choose delete.
2. Use CPanel to remove Maintenance Mode
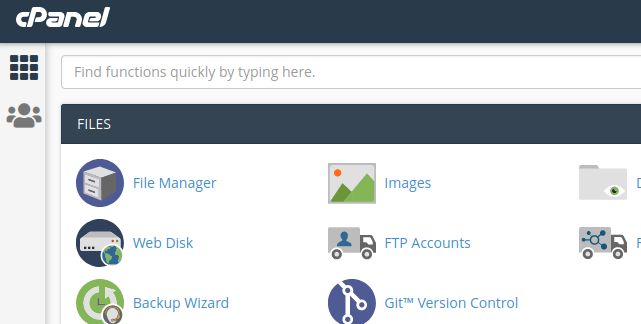
The other way is to access the file through you website CPanel. Log in and access the file-manger icon. (This image happens to be a Hostpapa hosted site. CPanels on other hosts may look a little different.)

In the file manager hunt down the .maintenance file and either delete it or rename it.
It will have the same effect as the FTP process did and your website should become visible again.
That’s it. Hope it helped.