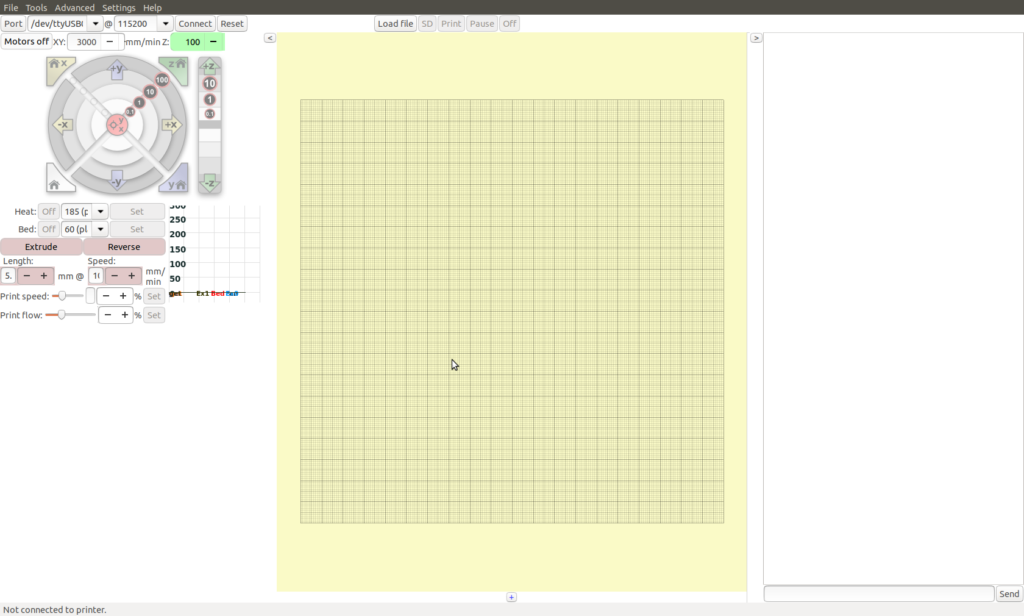
This is the last part of a small series (starts here) tracking the design and processing of an ultra simple 3D project using Freecad and Prusa Slicer. Together they produced a Gcode file. This can be printed as usual using a SD Ram card. But this post is mainly about printing on a Creality Ender 3 using Pronterface (also called Printrun) on a USB connection.

First of all level your bed and set your extruder height as normal on your 3D printer.
Connecting via USB
To set up the Creality Ender 3 or any other 3D printer to communicate with Pronterface on Ubuntu 18.04 see this earlier post. It shows how to get round a common problem with file permissions.
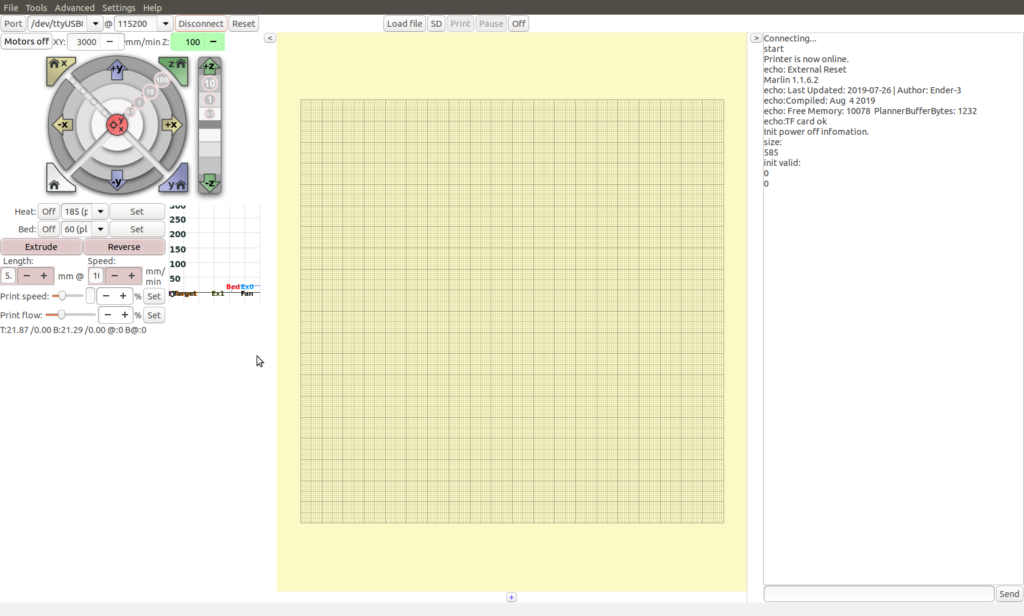
Check you have the correct USB port selected then click on “connect”. When you have established a connection with the Ender 3 you will get a screen like this.

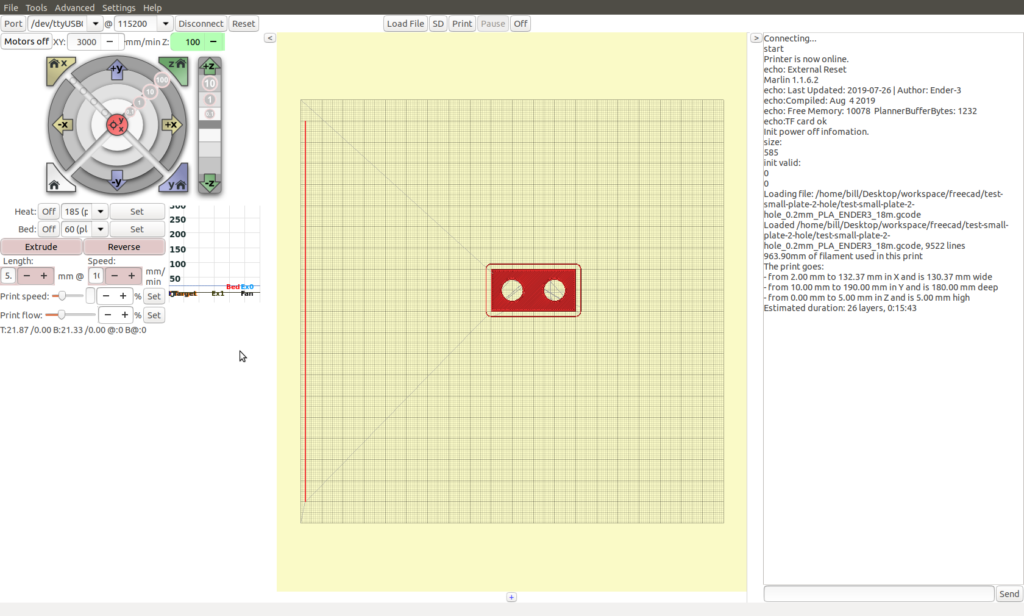
Load the Gcode file
Click on File and open the gcode file for the plate we’ve designed. When it is loaded it will show on the screeen as so.

Print!
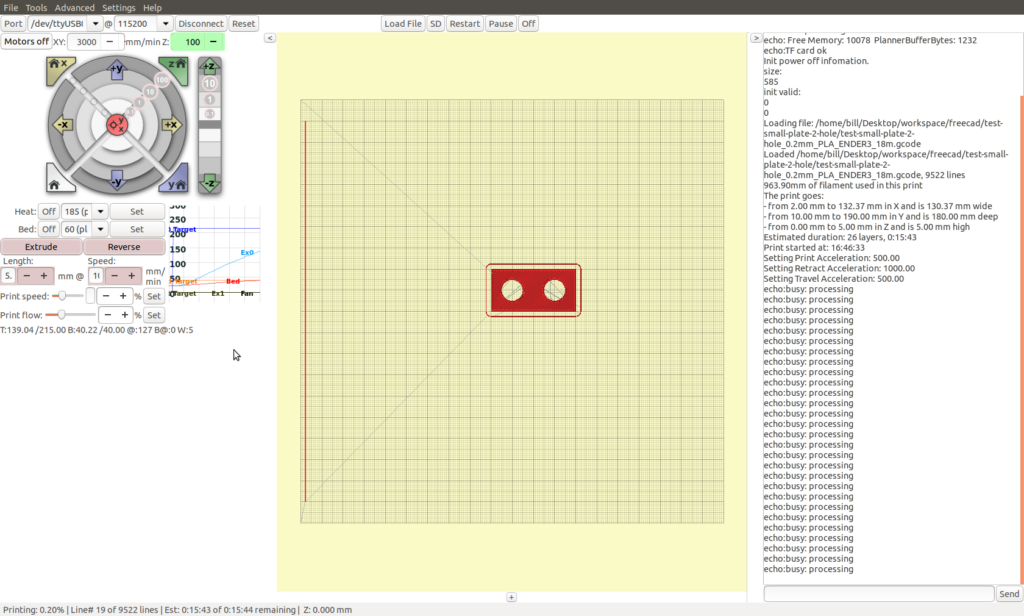
Then click print. While the extruder/bed are heating up and while the print is running you will get a screen like this.

When the extruder and bed hit temperature the print will start.
In my opinion though it is better NOT to use Pronterface (or similar). It is better to use a SD-Card and run the print job directly from the Ender 3. To do this simply copy the gcode file to a SD-card. Plug it into the Creality Ender 3 and drive the print from the little GUI on the Ender 3. This way you don’t tie up your PC or risk wrecking the print by accidentally disconnecting the USB cable.
Anyway either way, I hope that is useful. If you’ve actually printed the plate then go out and use it! Join two things together. Somewhere. Anywhere!